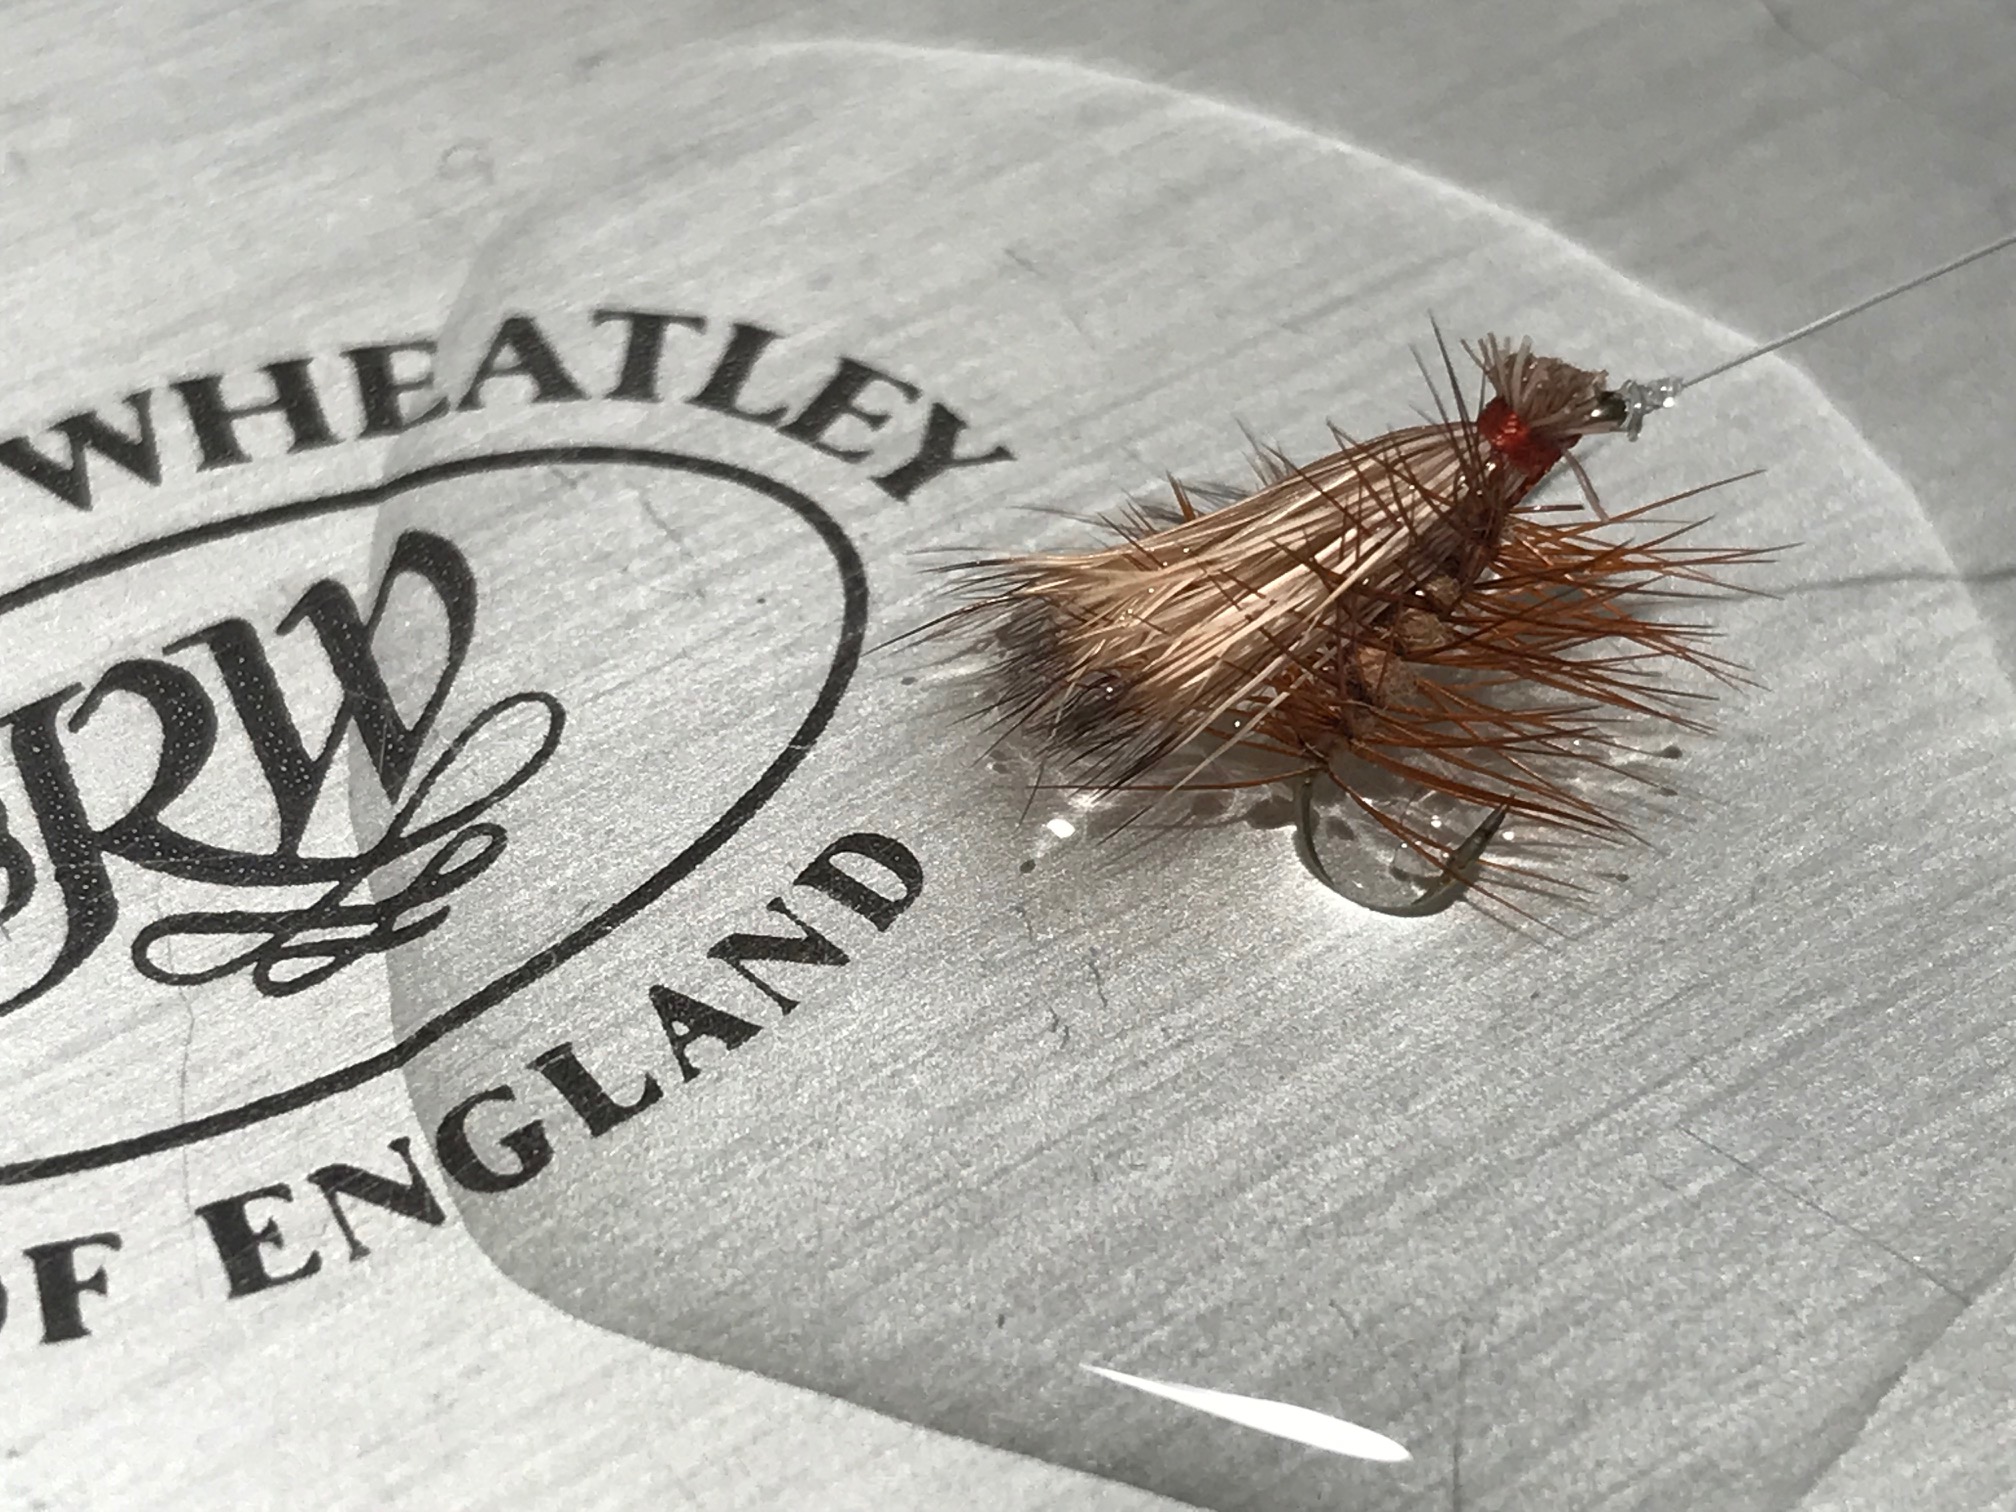
I recently wrote a post about how to make your own DIY fly drying patch. And it works great if you want to switch out soggy flies for fresh ones or just want to dry out your flies before you retire them to the box. But, what do you do when you’re down to the very last one of that one pattern that’s been absolutely killing all day and it’s hopelessly waterlogged? You can rambunctiously blow on it, announcing your desperation to every angler within earshot up and down stream or make non-angling onlookers think you’re doing drugs. You can try the rubber band trick and just tell people you practice the lost art of some esoteric, ancient musical instrument so they don’t drag you off to the psych ward. You can dole out the equivalent of Starbucks’ most expensive and unpronounceable latte for some commercially available desiccant that bored product designers in the fly fishing industry concocted. Or, you can try this simple little hack I learned years ago using materials you might already have hiding in the unexplored corners of your junk drawer.
No matter how much I think I “advance” in my fly fishing, it always amazes me how often I come back to my roots–my “glory days” back in Western New York where I cut my teeth in fly fishing and learned from some of the most talented, innovative, and eccentric anglers I have ever known. Every now and then, I rediscover something–a trick, a technique, an anecdote–that I had somehow forgotten from those days and resuscitate it. One of these recently rediscovered ideas was a simple, homemade desiccant.
Like so many great ideas, the origins of this one have been lost to anonymity. I first heard about it by word of mouth probably 25 years ago, tried it, and it worked. But since I’ve been fishing mostly subsurface flies with tenkara for the last decade or so, I really didn’t have the need for a desiccant, so it slid to the back shelf of my mind. Then, the other day, I was unpacking some boxes at work and a few of those little silica gel packs jumped out, tried to make a run for it, and I was suddenly reminded of why I used to hoard them. So, I thought I’d share …
What You’ll Need
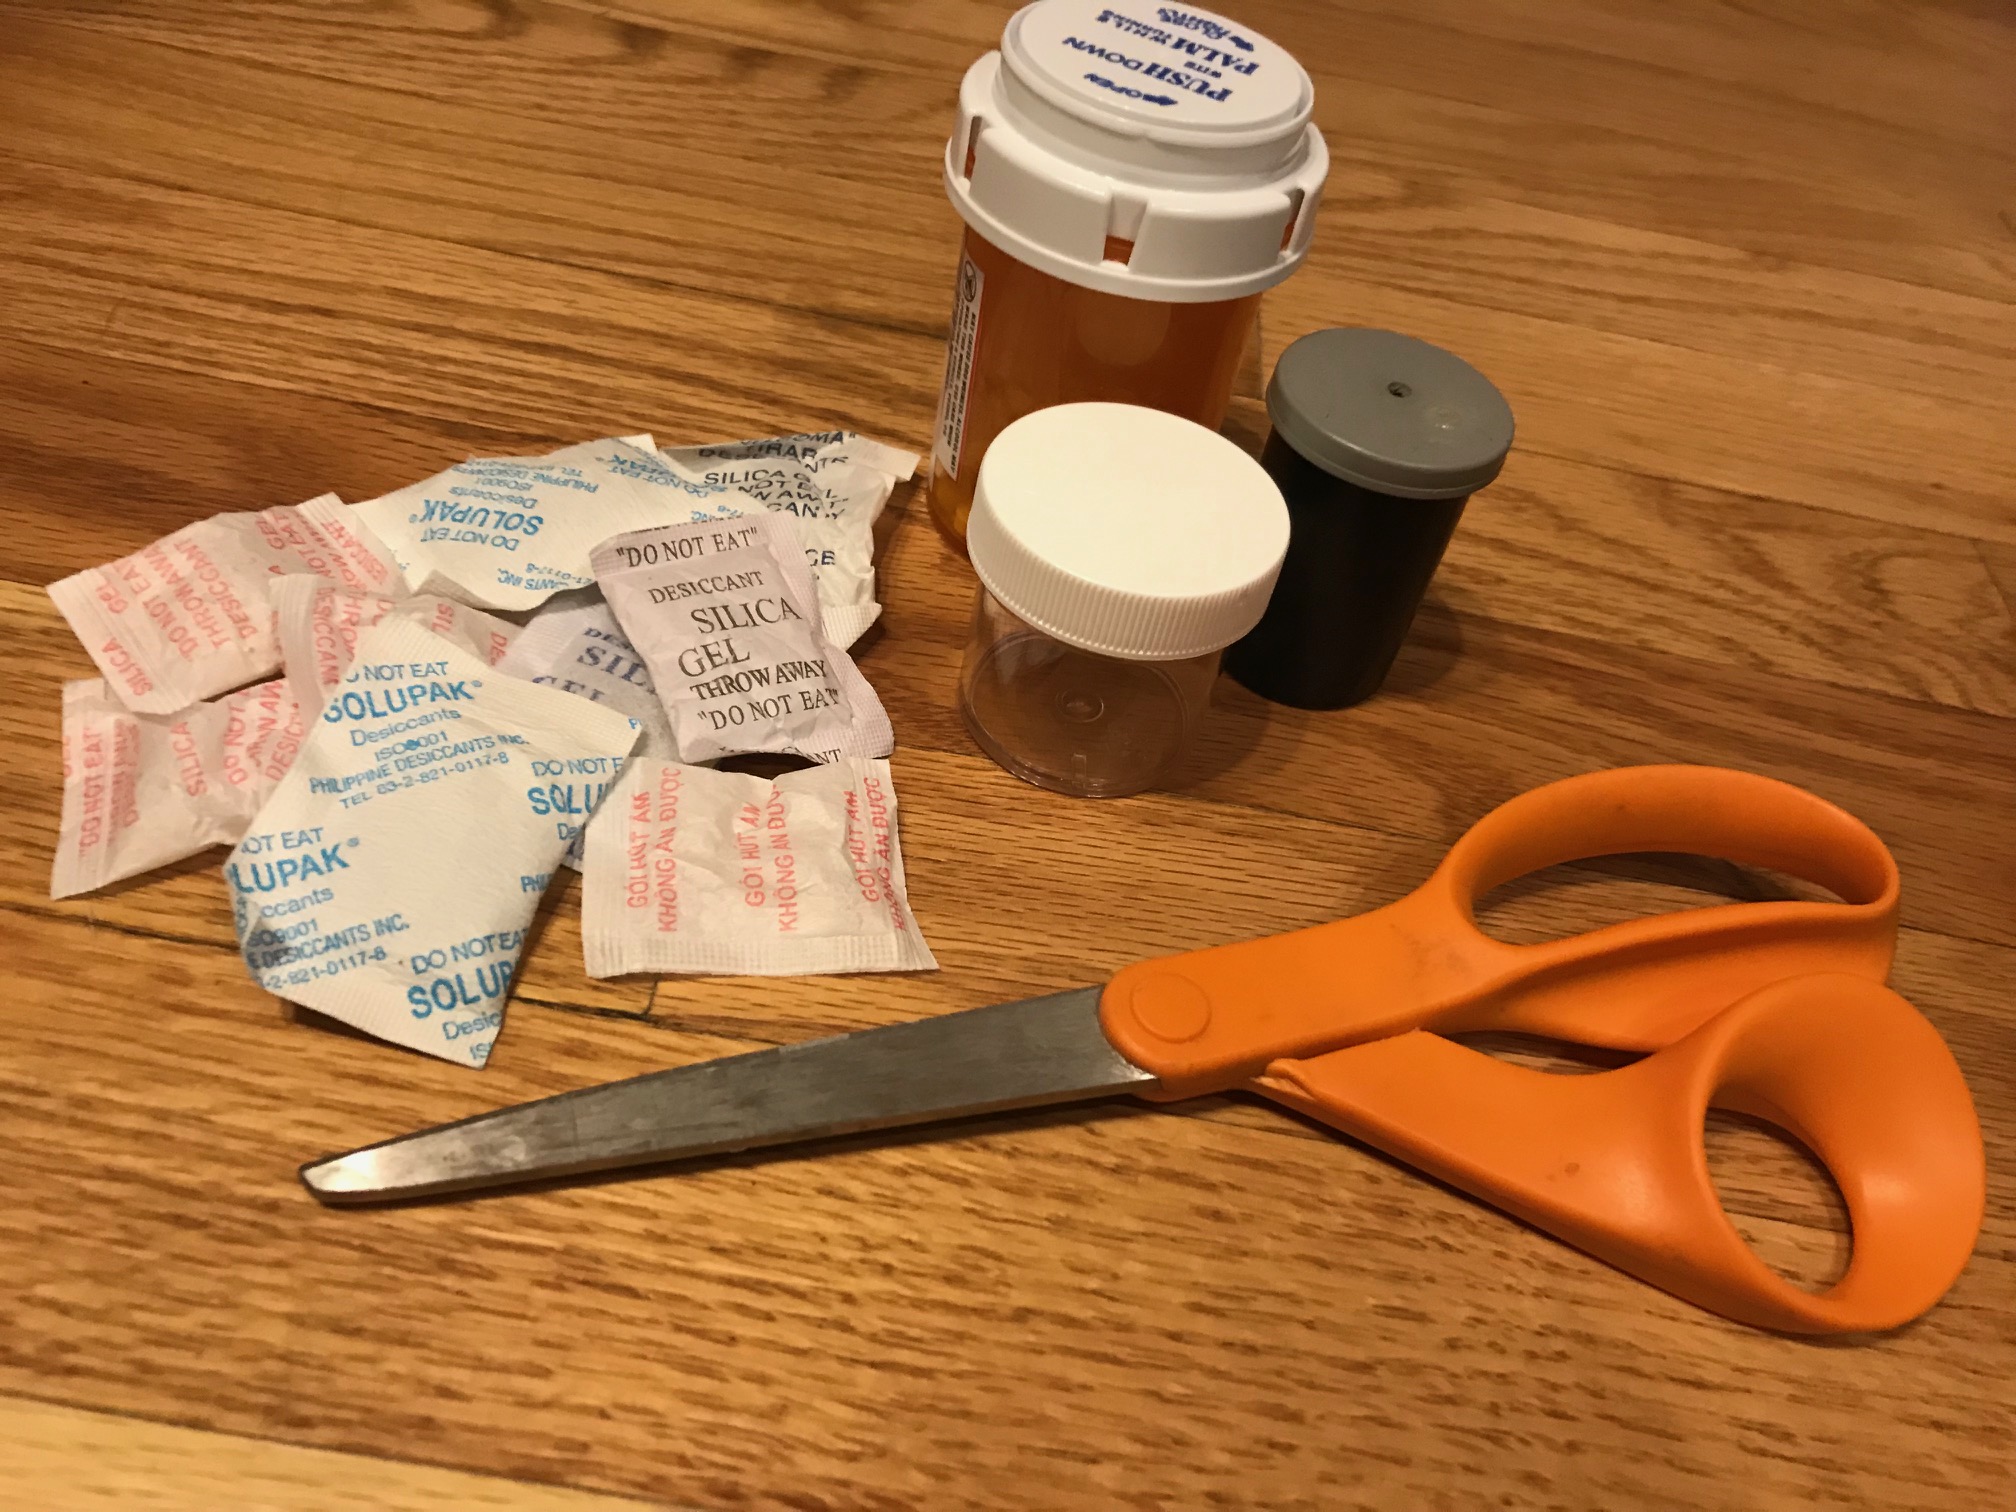
- A pair of scissors.
- A small container with a lid. We used to use old film canisters (good luck finding one of those these days) but any small container will do, such as a prescription bottle.
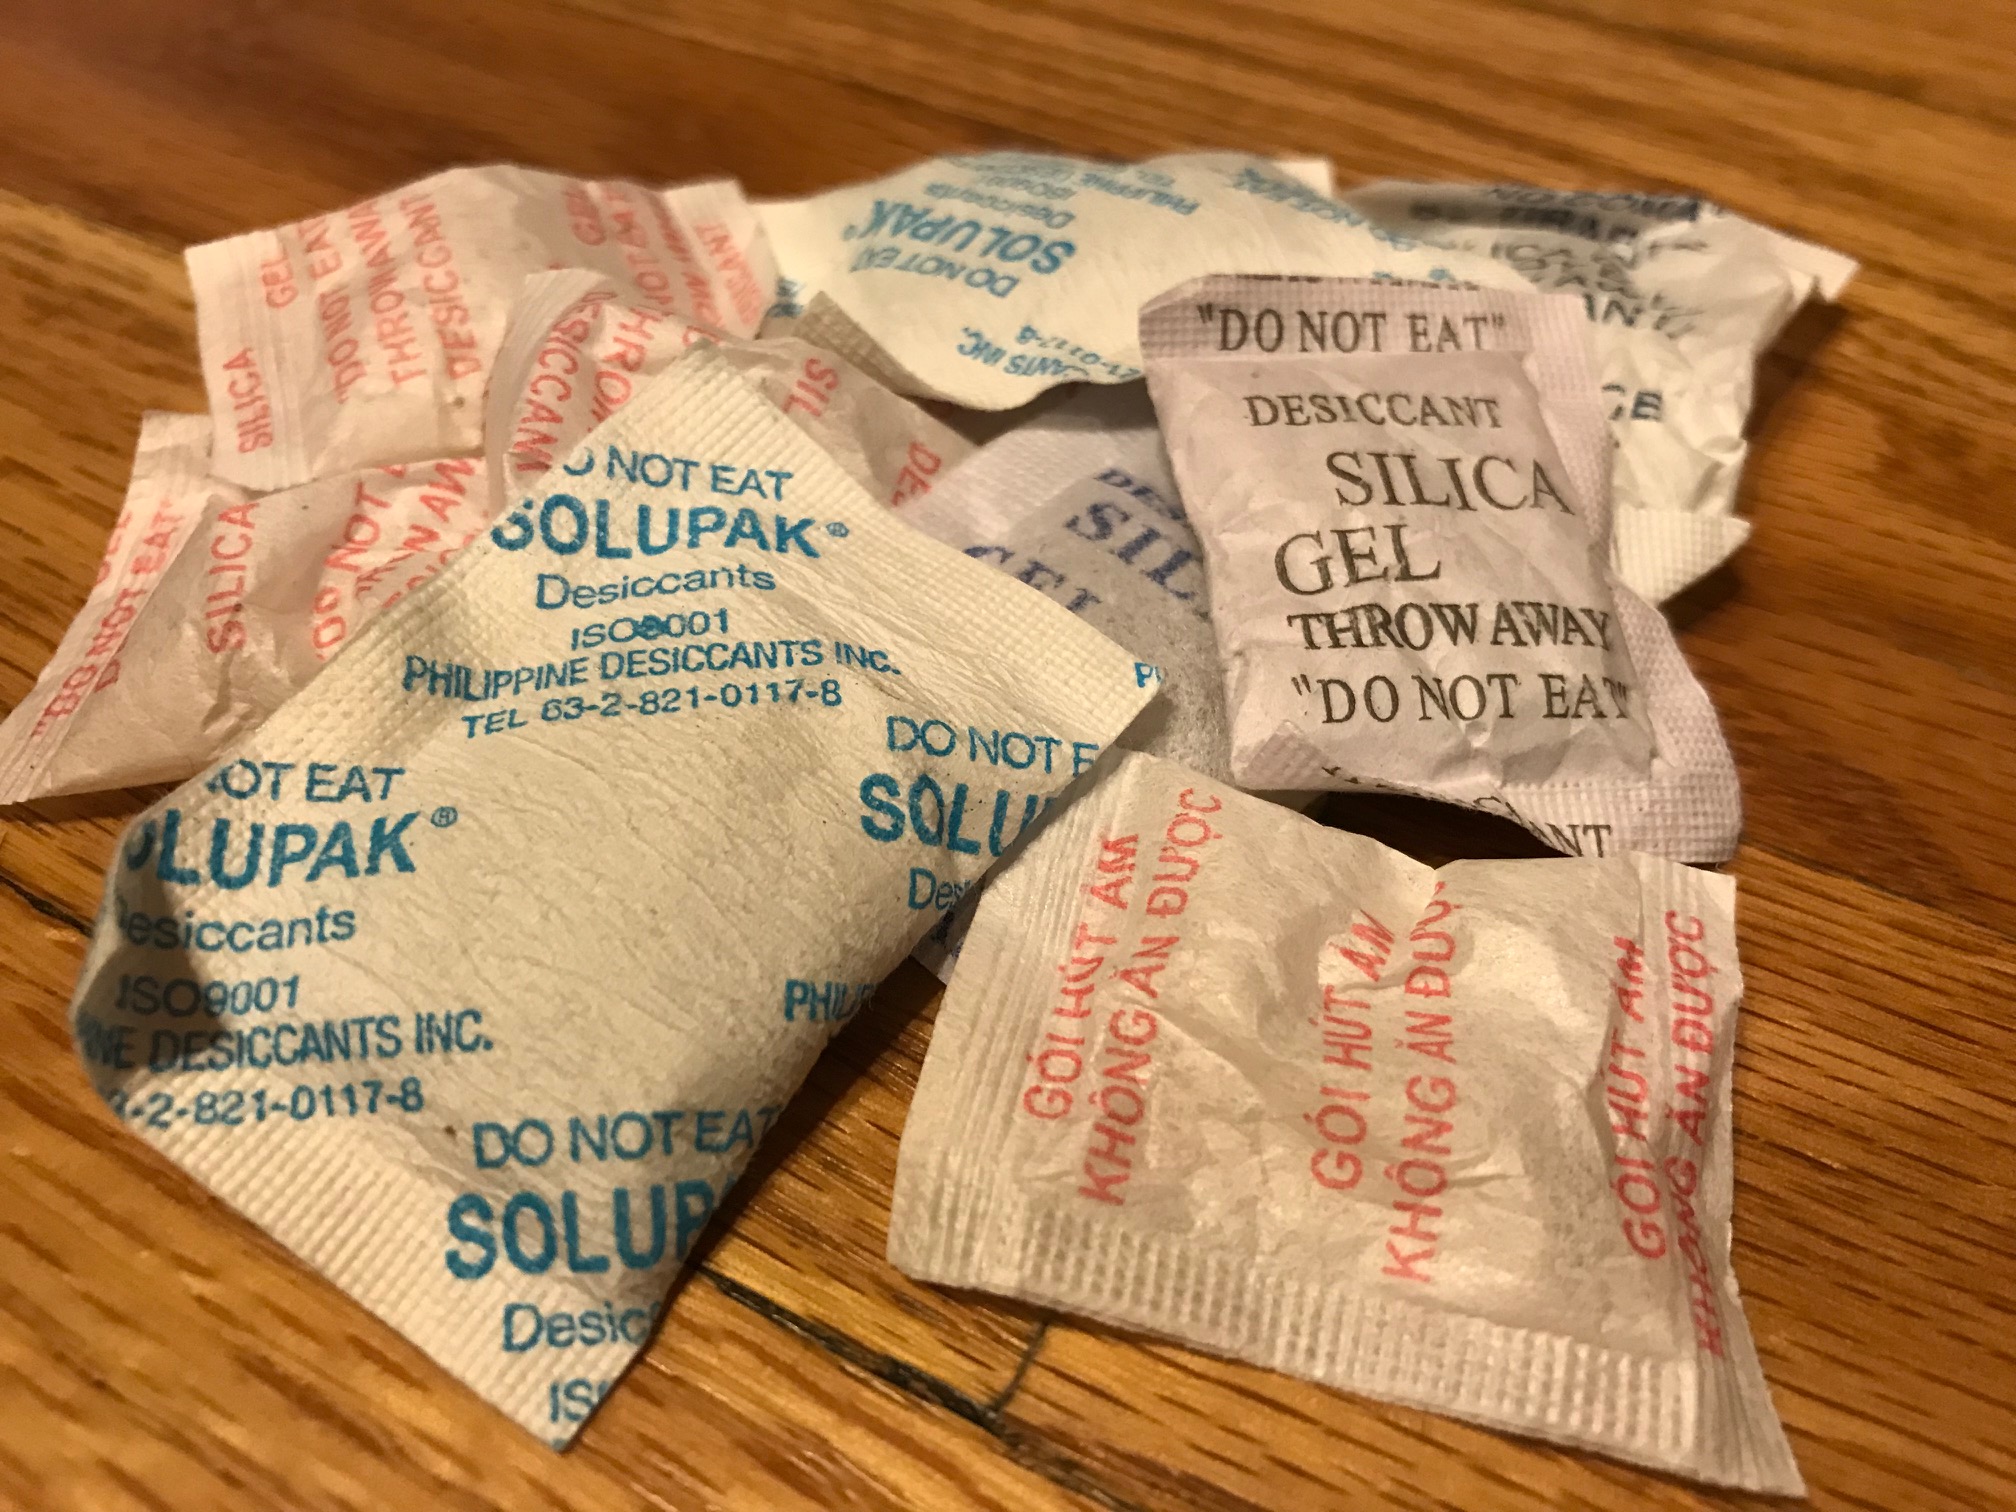
- A bunch of those little silica gel packs that you’ve been throwing away for years that you now wish you’d kept–the kind that comes in furniture boxes or other packaging to reduce moisture. If you’ve ever bought anything from IKEA, you know exactly what I’m talking about (and you also know what it feels like to try to assemble a jet engine based off of the recipe for how to make an apple strudel).
How To Make It
Simply cut open the gel packs with the scissors, and pour the silica beads into the container, filling it about halfway. You don’t want to fill it all the way because you’ll need enough room for the fly to mingle among the beads.
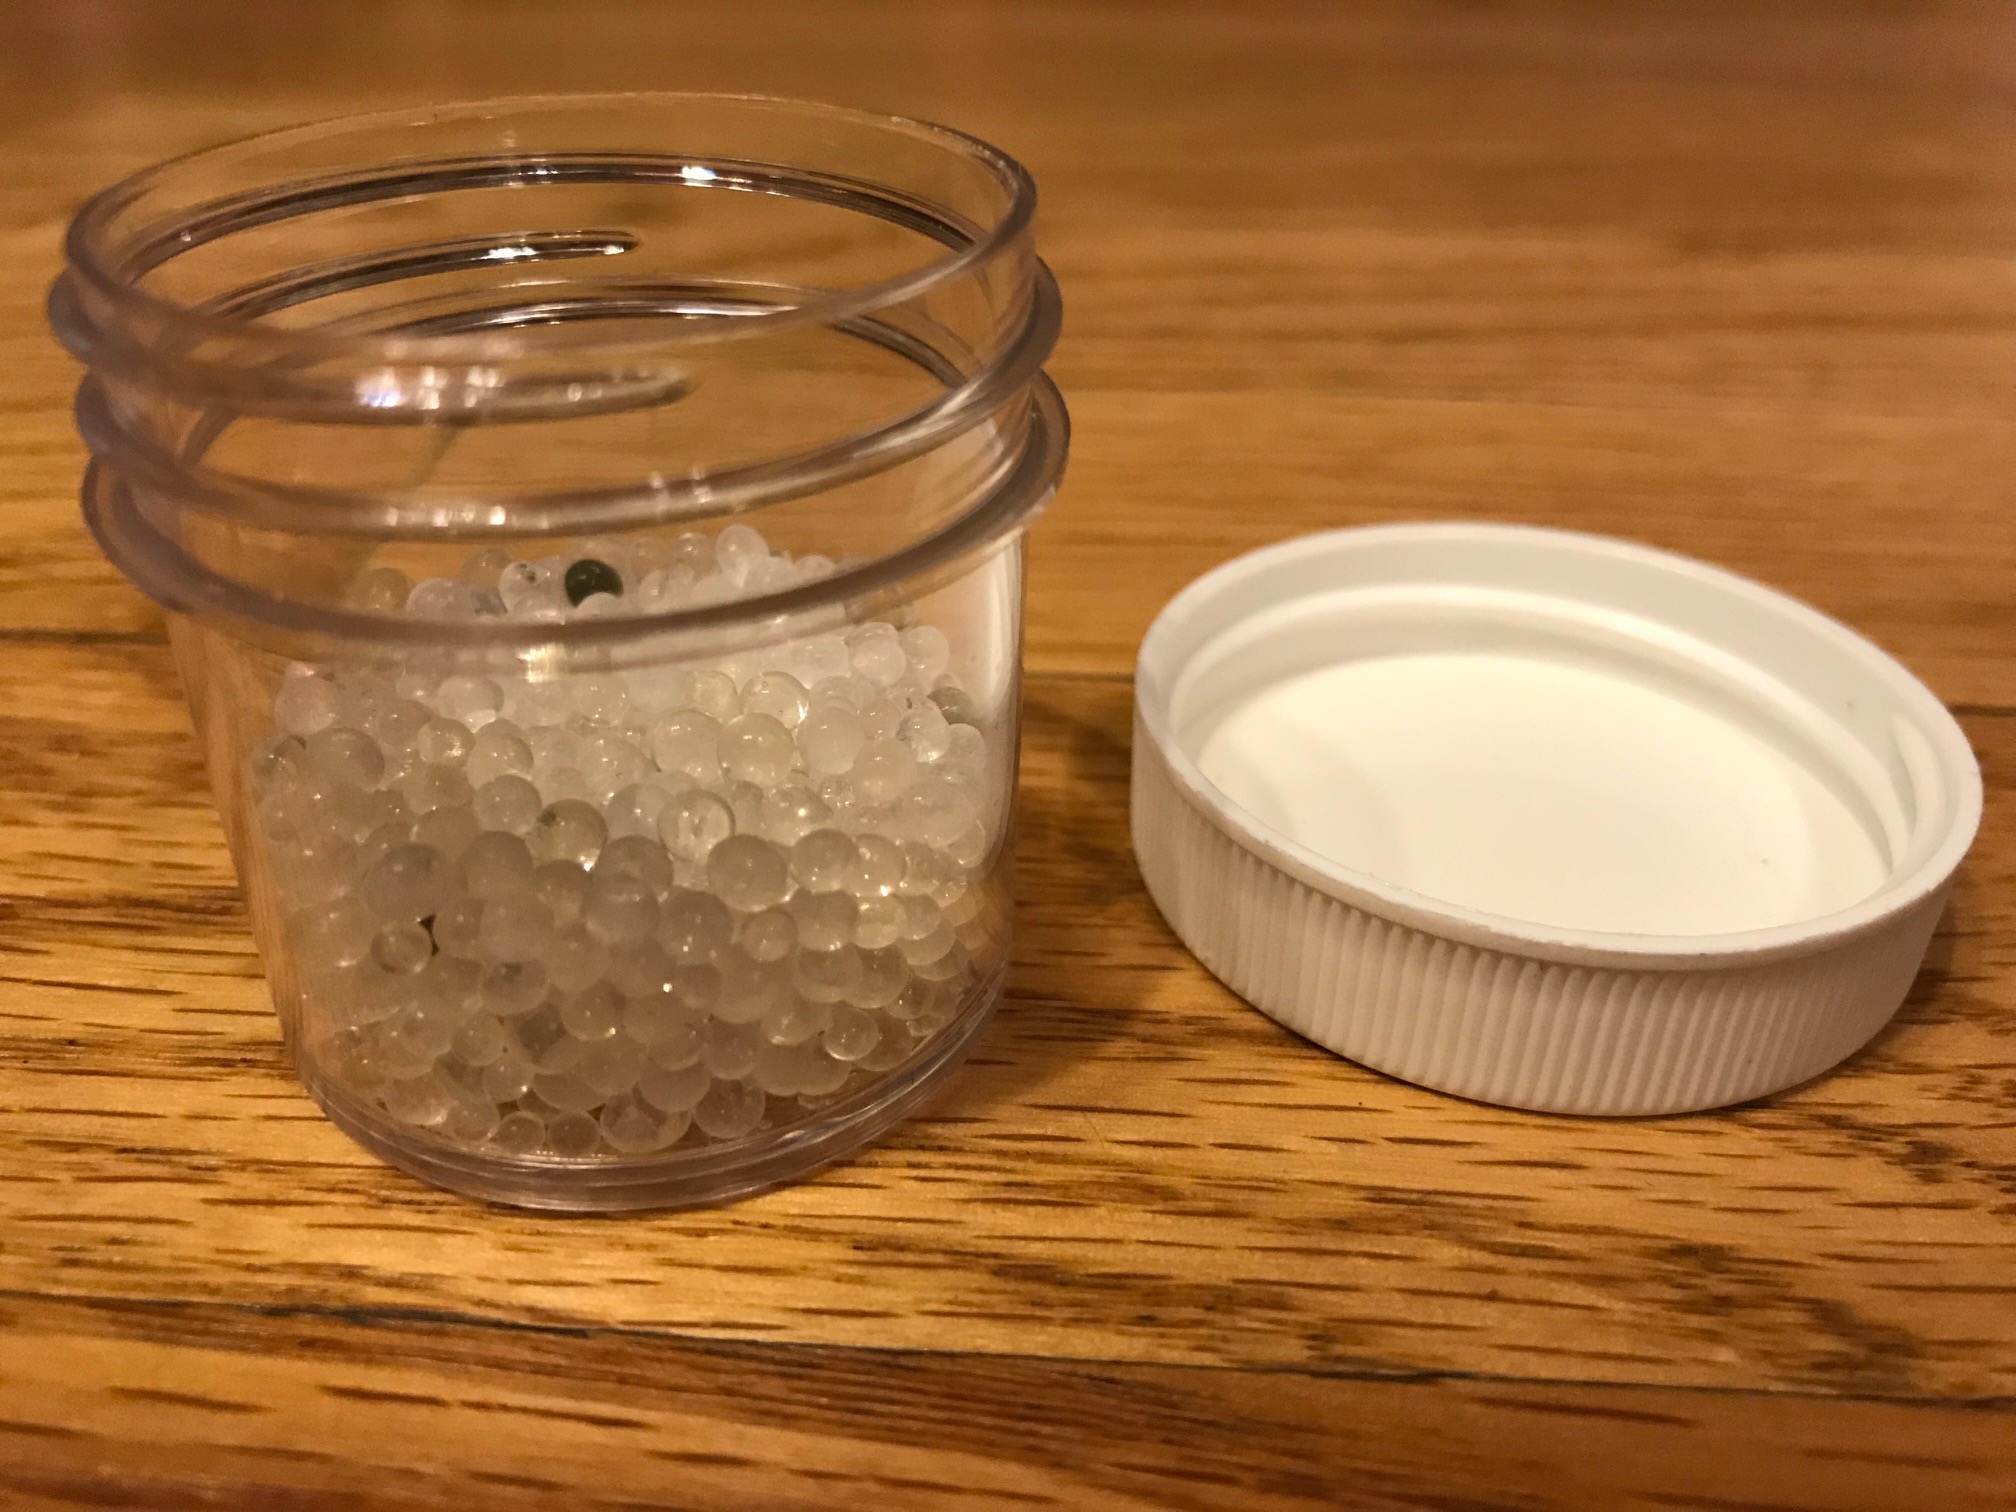 NOTE: if you don’t have scissors, alternatively, you can put all the silica packs in a pile and run them over with your lawn mower. While this method works, and might seem more efficient because it opens all of the packages at once, getting down on your hands and knees to retrieve the hundreds of tiny beads scattered all over the place can be somewhat time consuming. For this reason, I highly recommend using scissors.
How To Use It
Just drop the fly inside the container (tippet attached), cover the opening with your hand and shake it as long as it takes to shake a good martini. Do not replace the lid as this can damage the tippet (especially if it’s threaded).
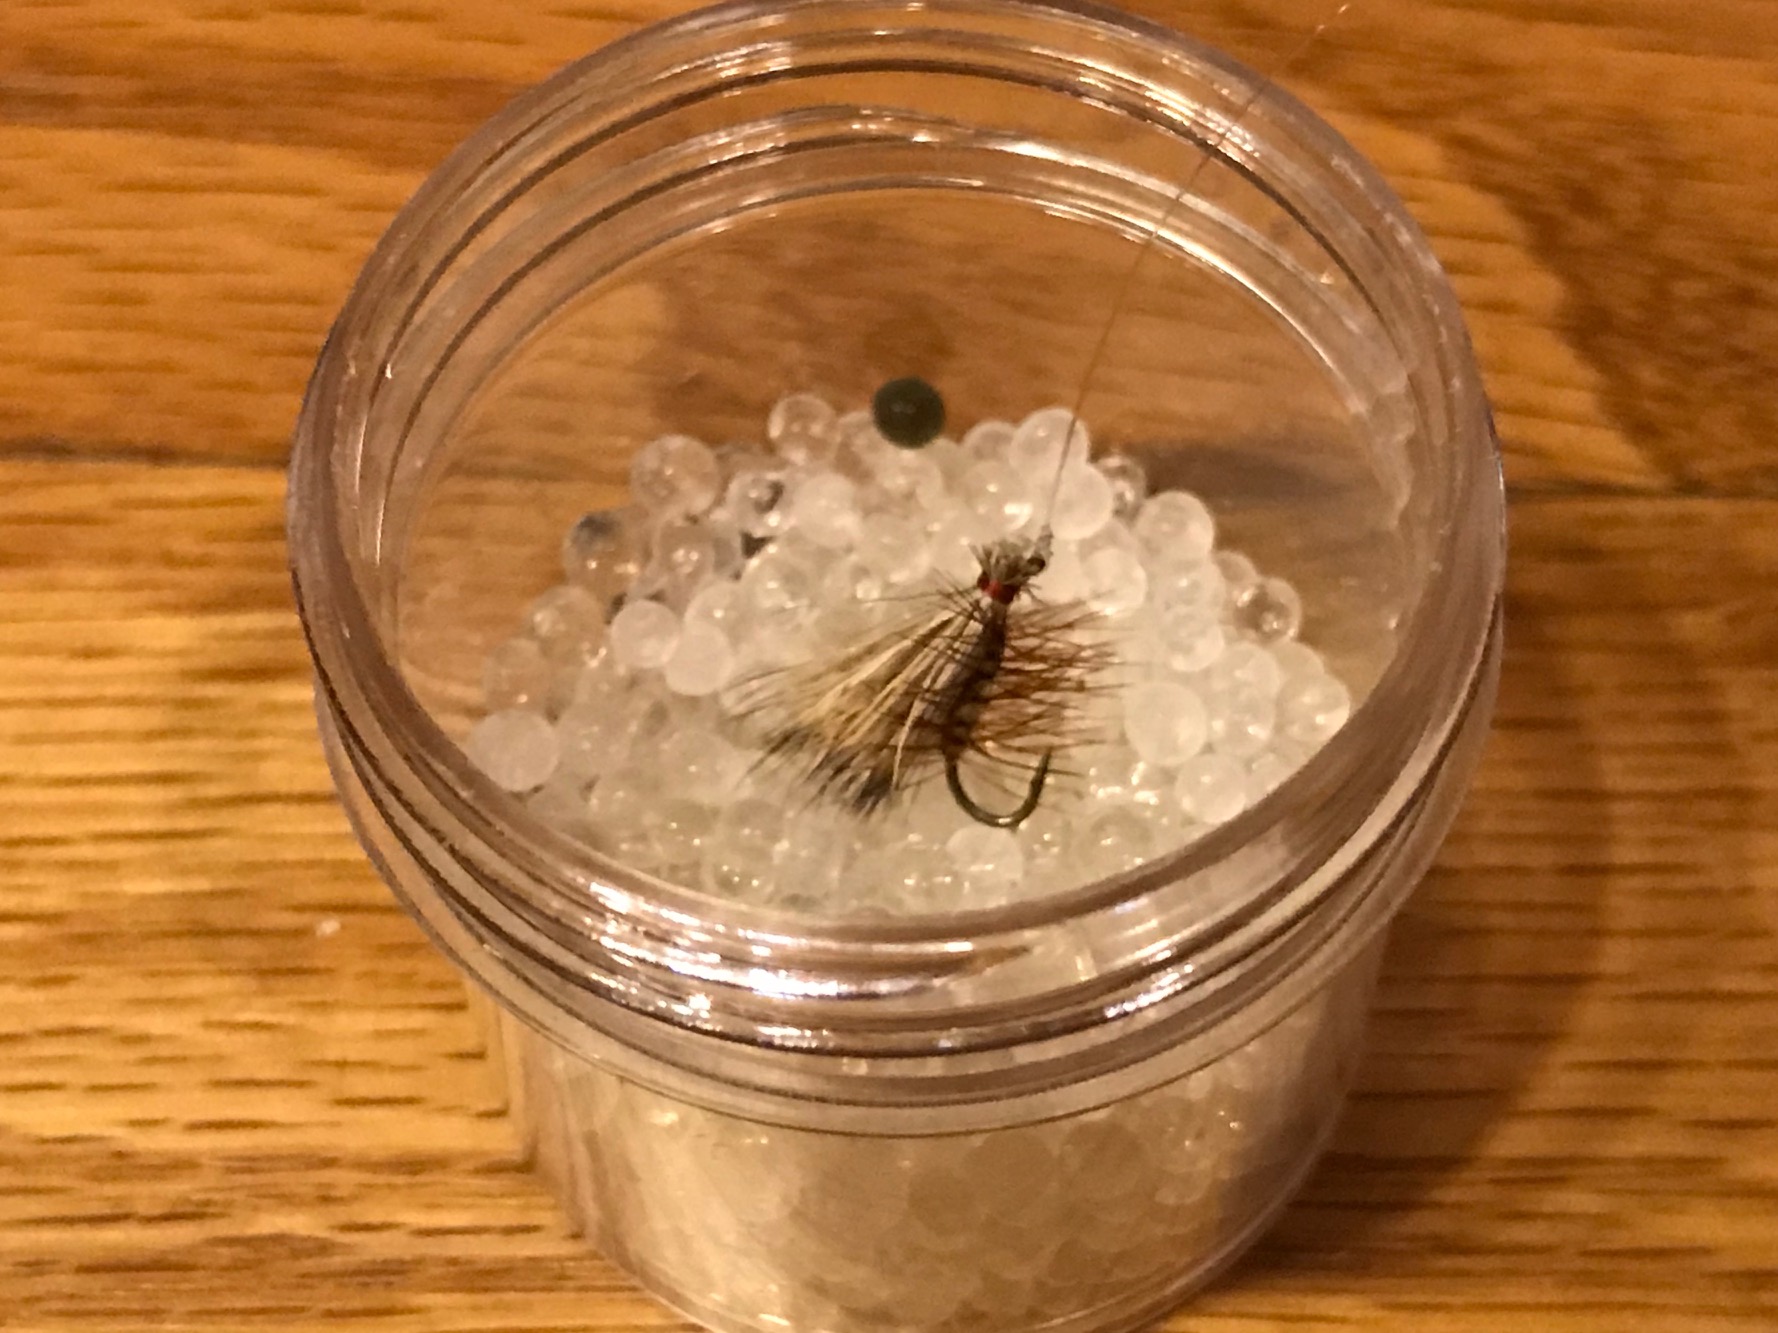
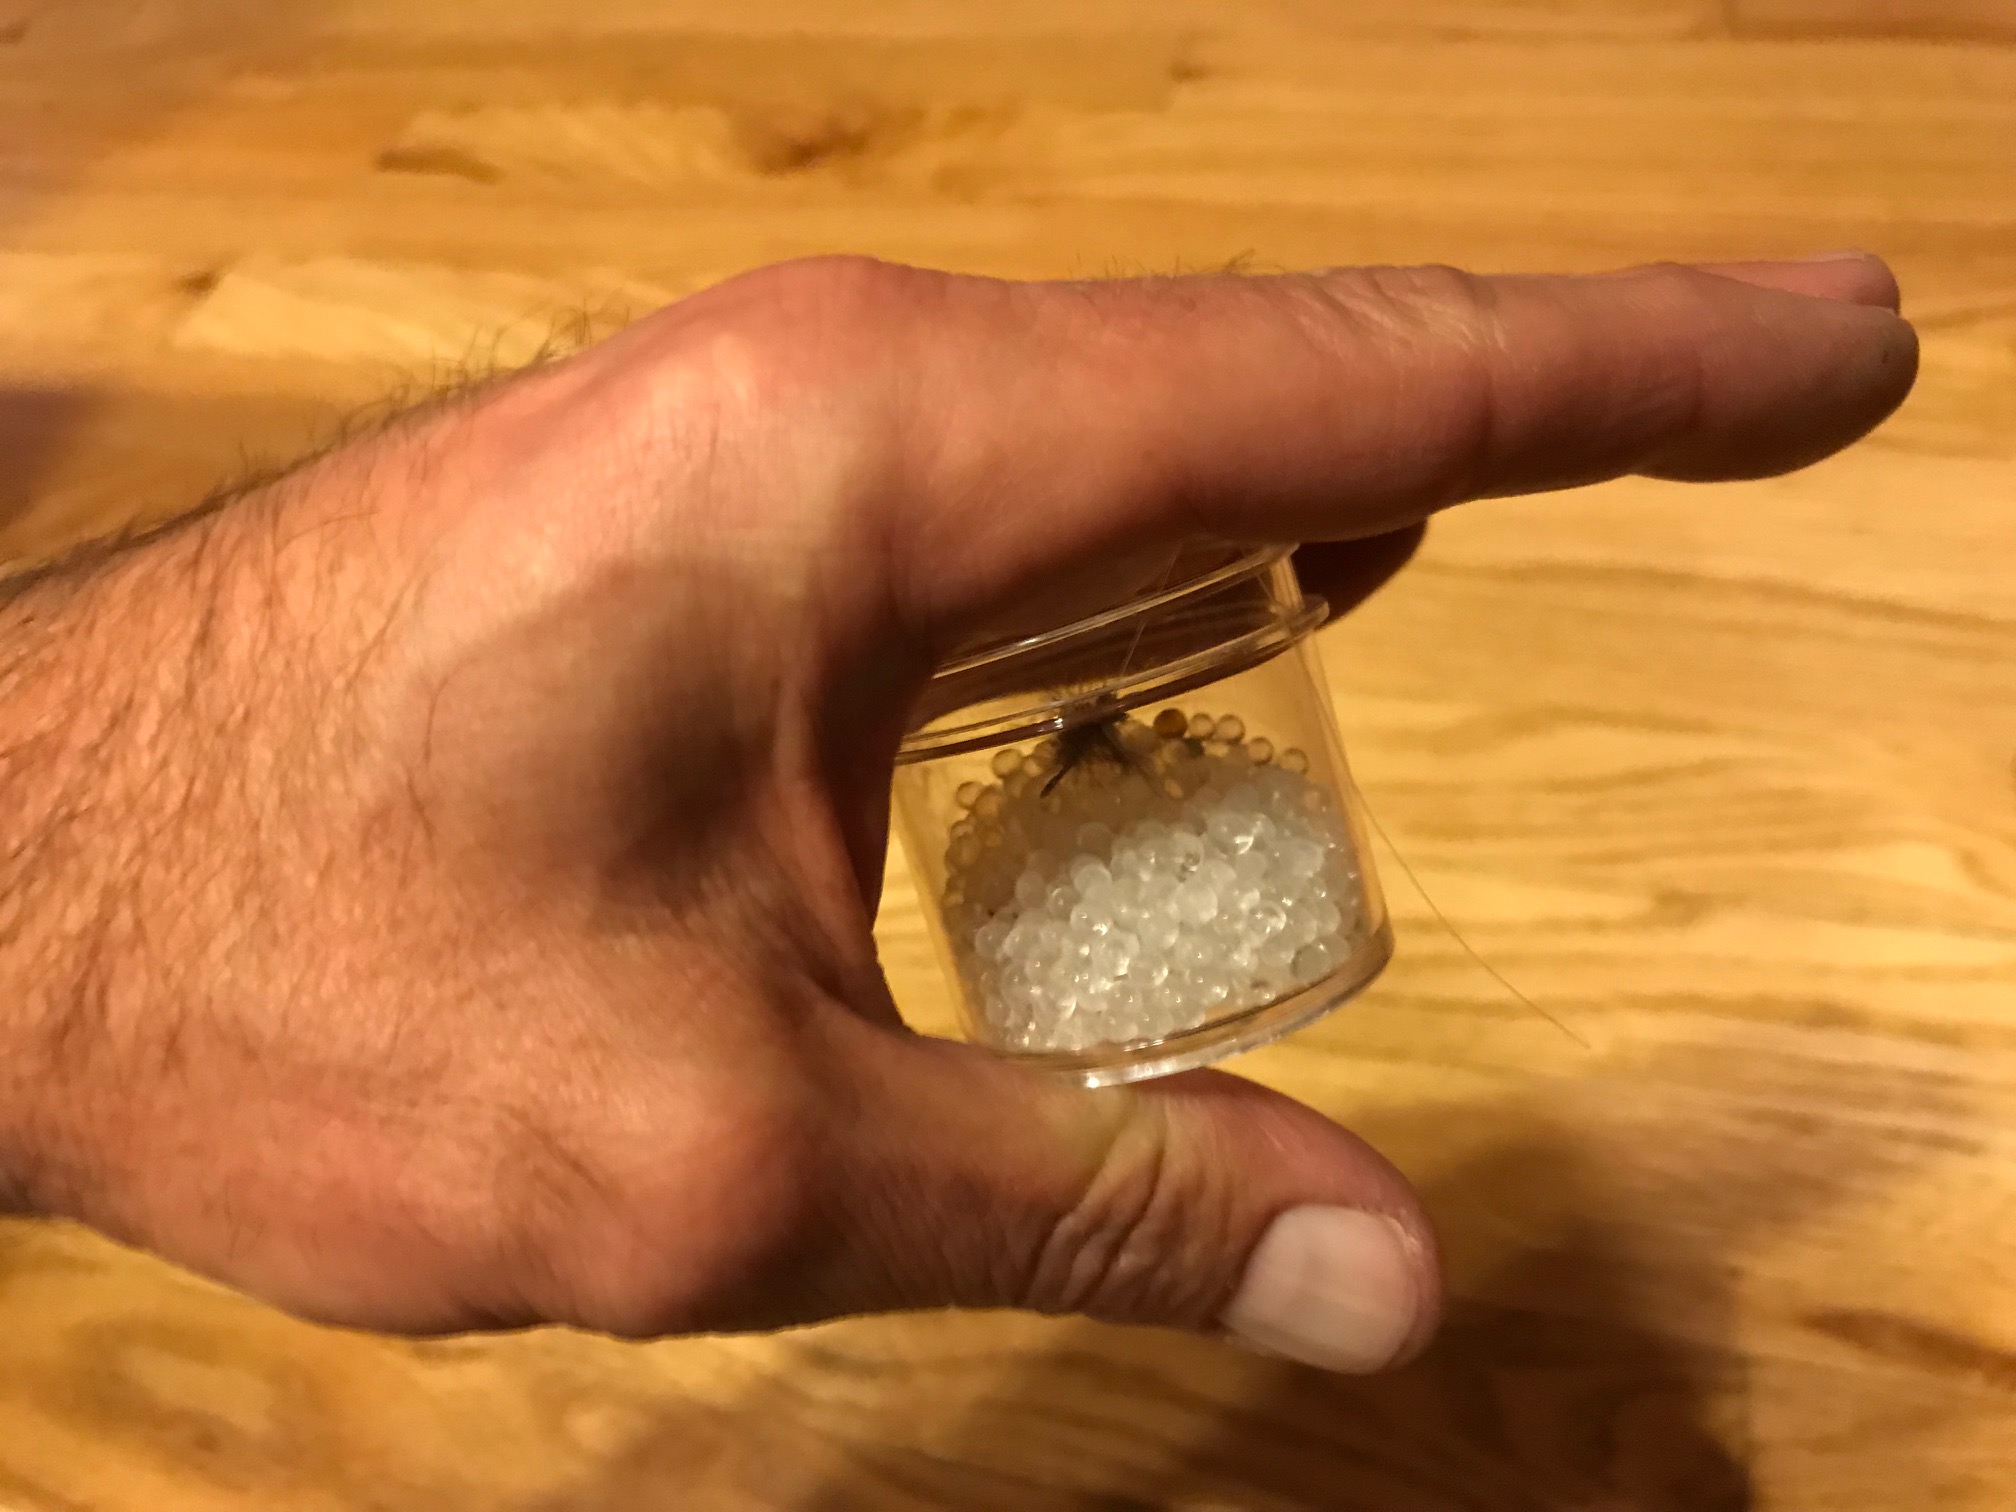
After the silica absorbs the moisture from your fly it should now perk up and be ready to hit the battlefield again!
Several of my old fly fishing accomplices back in Western New York used to use this little trick and some of them crushed the silica with the idea that smaller particles would create more surface area and dry the fly faster. And it probably does, but I don’t crush it because the more powdery it gets, the more it gets stuck in the hackle and barbules of materials like CDC. This can actually hinder buoyancy and then you end up having to resort to the blowing method again to get them out. For me, the whole beads work just fine but you may want to experiment with both to see which way works best for you.
Anyway, just a quick share of an old idea, from a lost time, invented by who knows who.




Yep, been doing this for ages. I would share it in the Continuing Ed classes on fly fishing.
Hey George, now that I think about it, you might actually be the one I first heard about this from!
I use fumed hydrophobic silica – traditional archers use it to waterproof feather fletching. It appears to be the same stuff as Shimikazi Dry Shake or Loon Top Ride for about 1/100th the cost.
I also have several old film canisters available – price on request 😉
Great way to save money. May I suggest cutting a slit in the cap/cover to allow the tippet to silde into and allow you to put the cap/cover on before shaking it.
It will work to done extent, but its much quicker and more efficient to use the silica powder flakes. Basically the same material crushed up.
You can crush it, it’s just a pain. Plus I don’t like the way the flakes stick in the hackle. It actually weighs the fly down and has the opposite effect.
Jason…just ran across this blog while searching for dry fly treatment options… I have combined your silica beads in a film canister(for drying flies) with a fine white powder called “fumed silica” (as the dry floatant–mentioned above by Randy)… used a lot of the info in this 2017 article: http://www.livingflylegacy.com/2017/05/diy-shake-fly-floatant.html … found a small bottle of the “fumed silica” sold for dressing arrow feathers call “Feathered Powder” by Gateway Feathers (found on Amazon)…also used the plastic film canister idea and duct tape/key ring pictured also in the article…this canister now hangs from my vest as an option for both “drying” and “treating” a dry fly… to protect my tippet, I just place the canister top loosely on top(do NOT snap it shut)–enough to keep the powder from poofing out, shake for 10 seconds, remove fly, blow off extra powder and start fishing again… got into this a year or so ago when I “discovered” CDC feathers for certain dry flies but with such fine feathers, they required the “white powder” approach to treating … this in lieu the expensive treatments sold, e.g. Frog’s Fanny. The above article provides a step by step w/ photos approach to making your own drying floatant formula…yeah, just another “home made” tip for us wonky fishers… ha ha!
Silica gel desiccant will not last forever. It has a limited ability to absorb moisture. Fortunately, there is an easy was to renew silica gel so it can be renewed and reused,
Put it in a ceramic dish or a small water glass and microwave it on high for about 10-15 seconds. You will hear popping which is the water in the silica gel flashing into steam and the crystals are exploding. Allow the crystals to cool and put them back in the container you use during fishing.
I have written an article about floatants that was published in California Flyfisher Magazine. An online version is available on the North American Fly Fishing Forum at:
http://www.theflyfishingforum.com/forums/general-discussion/345179-fly-floatants-noobies-what-floats-your-fly.html#post642614
Hi Henry,
That is a great tip and I enjoyed your very thorough article!
Following on from Henry’s comment re: rejuvenating old silica beads:
I’ve used silica in the laboratory for years. We use some that are the same but with a colour indicator that tells us when they are saturated with water. When they are we put them in a warming oven we have that slowly warms them for a day or so (So long as we have huge bags that take a good while to dry out).
The microwave option is OK and good if you are in a hurry but the popping sound is the beads cracking and breaking up. If you want them to stay as beads then just put them on the ceramic or metal dish (an old jar lid would do) and put them in the oven either on as low as it will go for a while, or pop them in after you’ve done dinner and turned the oven off and let the residual heat dry them out.